Showing posts with label Shabby.. Show all posts

Tuesday, 20 May 2014

Ett Trykk- Catching up.

I am as i've mentioned before, 
one of the Guest Designers this 
year for the inspirational magasine 
'Ett Trykk'.

I havn't yet posted the cards that have been published so far,
and there has been a few. So without futher a do, 
here is the first one....


I'm so chuffed that they asked me to be on the team!
More to come soon.

(I see now that my photos need to have some editing 
done in photoshop, I'll swap them out for better ones soon ;O)).

Thanks for stopping by.
Nina x

Thursday, 15 May 2014

Wedding, love is in the air card.

New challenge over at the 
Challenge # 81 is all about
Vintage weddings!

we have 
Live and Love Crafts + by digital Paper 
as sponsors.

If you wish to join in you have until the
29th of May
to enter your creations.

Here's my contribution for the Design Team:


I have used papers and bling from the Prima
'something blue' collection.
A lovley spelbinders die borrowed from Mette.
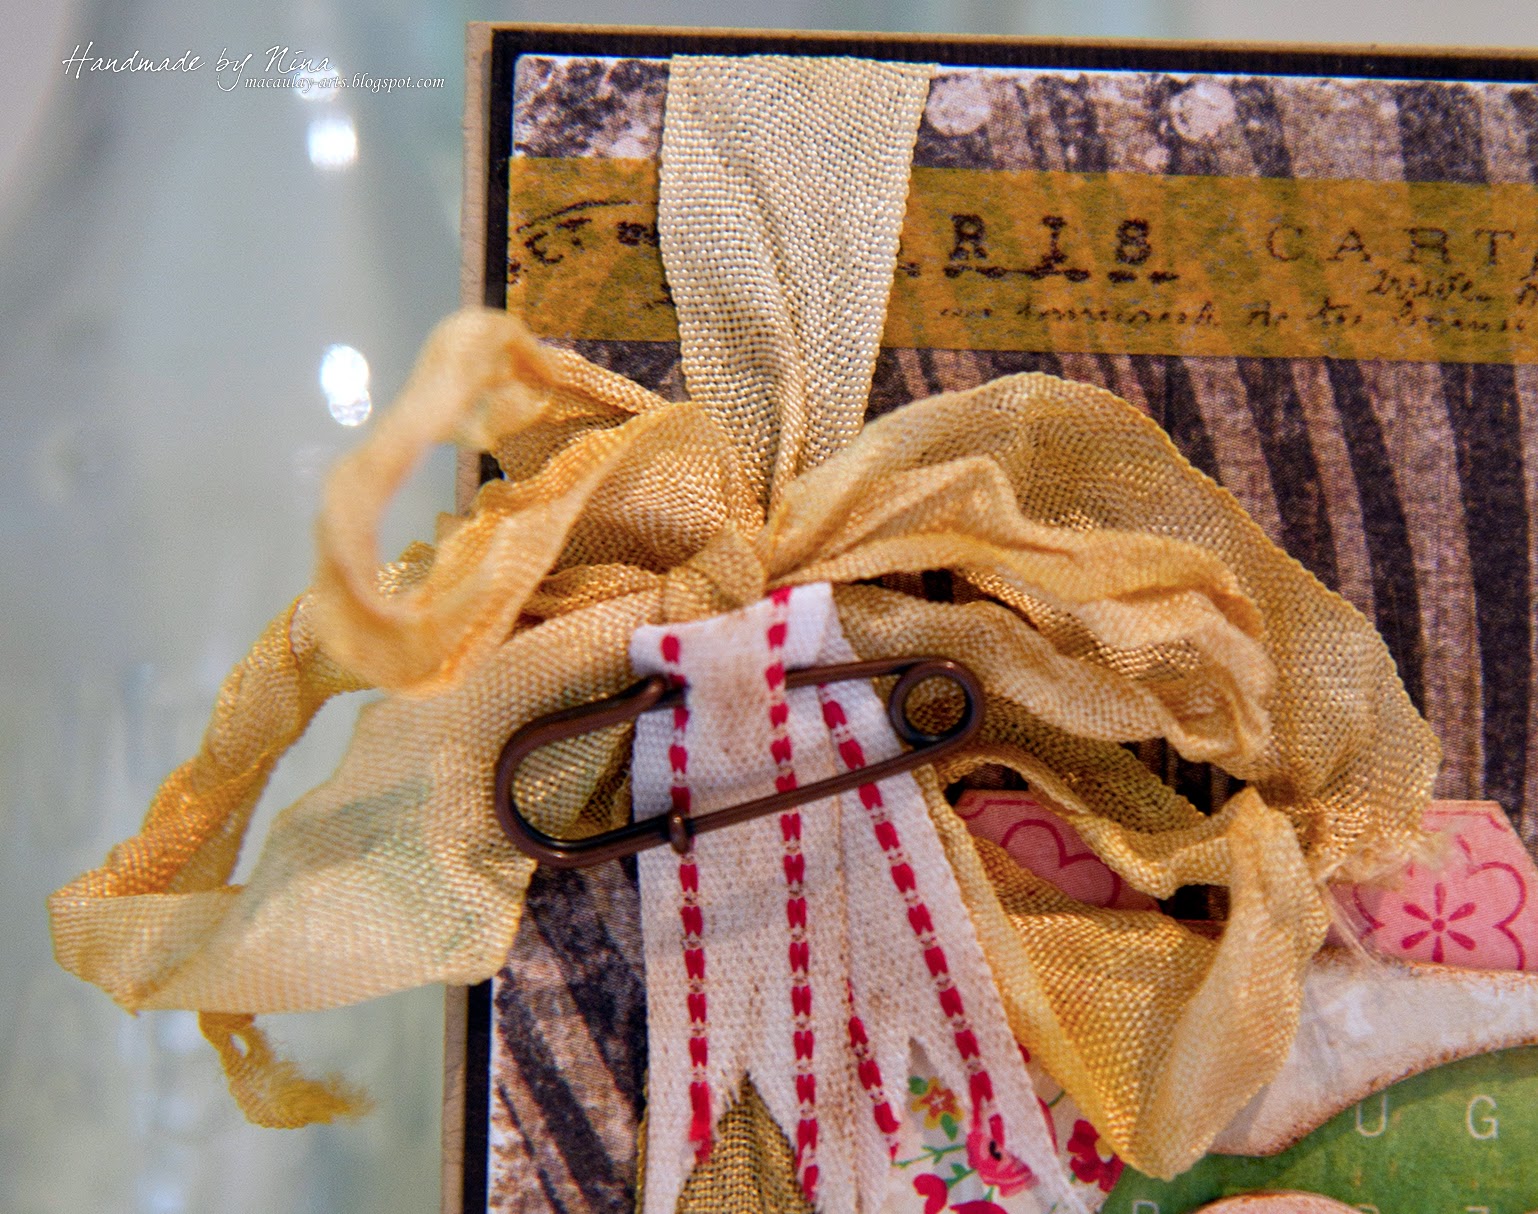
Edge punch from Martha Stewart, vintage seam binding,
hearts and text in plywood from Wycinanka.

Wishing everybody a happy day!
Nina x

Wednesday, 14 May 2014

Spring card.

Spring has been in the air for a while now and
I needed to make a card,
When I stumbled
across this lovley sketch challenge over at
(open til saturday 9pm)
 
Here is my take on the sketch:


 The sketch to follow.

 I've used papers from Graphic 45,
pearls from Prima and
Vintage seam binding.

Thanks for taking a peek :O)

Nina x

Saturday, 15 February 2014

Card - Nothing is impossible...

"Nothing is impossible,
the word itself says
I'm possible"
An Audrey Hepburn quote.

what a great saying! 
Of course I was going to buy that wonderful quote stamp
when I found it!
 I have used it on a canvas before and now here it is again on a card I have made,
and i'm sure its not the last time it will pop up on something i make! 

This card is made for
We are still going strong, feel free to join in!
(see the rules on the blog).
And be sure to checkout the other Design Teams blogs 
for more inspiration.
The theme to follow this time is 

'Use painting, spray or mist on your vintage project'
The delivery deadline is the 28th of Febuary 2014.

I have taken some step photos 
of my card, just to run you through some of the 
process of card making.
Mainly layering.
I left out all of the work on distressing the papers etc
I'll do that another time.

Its been a long dark winter up here in Norway,
and whilst making this card I was hit by a longing for summer,
I think it has a lovley summery feel,
mostly down to that gorgeous design 
paper from 'Authentique'!
Here is my finished card:
(want to see a larger version of the photos? Just click on them.)

Below are photos of some of the supplies I used....


and the process..... starting off with the folded
craft cardboard base.


1st panel.....


 2nd panel...


3rd panel....
 
Cheesecloth and tag layer...

 Lace, ribbons and details layer....


Below are some detail shots.....


I had chosen to add my paint in the way of paint splatters,
in white and a mixed bluey green.
But decided it needed more so I dipped my finger
in a blob of quite dry white Acrylic paint, 
and ran it along the edges here and there.

as you might be able to see on the photo of the finished card again...


Have any questions, queries or comments?
Just leave me a message below
or send me an email.
Thanks for stopping by,
I hope you are inspired to get creative yourself! 

Regards Nina

Saturday, 1 February 2014

A Tag shabby.

February has arrived already!
GO 2014! :O))
 
This tag, like the tag I posted about yesterday, 
started off with the background made a while ago whilst 
testing out different mediums and background techniques.
 This delicate aqua tag is pretty clean and simple.

(Yes I know I hear you thinking 
  'Clean? Does she call that clean..?!?'
Well by my standards its clean ok?!)

Gesso dry brushed onto a black Ranger #8 tag.
A swatch of aqua heavy body acrylic paint.
Background stamps from Bo Bunny,
text stamp from Kaiser craft.
Ribbon from Memory keepers,
paper scraps, staples.......
and Bobs your uncle 
tag FINITO!
Oh and I did a bit of droodling around some
of the words to highlight them a bit :O)


Thanks for stopping by.

Nina x

Friday, 31 January 2014

Tag a friend

In this post I am going to be showing you a tag that I 
just recently made for a good friend.
I made the tag in 2 sessions, 
by that I mean that I made the background a while ago whilst 
testing out some techniques. 
So I already had the base ready to start working on.
I love making tags, 
for me they are all about small snippets 
of details and colours all in one compact space.
Hopefully working together to compliment eachother 
and not competing for individual attention.
I want my tags to take your eyes on a wee journey, 
discovering the different details 
and then looking at it from a distance. 
The layout of the tag is therefor important. 
BLAH BLAH BLAH!
I didn't take any process photos whilst making this tag because 
i... well i.... forgot :O...bummer! 
Anyway, here's the tag and some detailed shots from it.


Tag size: #8 (ca 15.5 cm x 8 cm)
I don't often use black tags but maybe I should because 
I love the way it makes the colours seem to pop!

I used leftover ribbon and paperscraps, the butterfly 
I punched out of an old book page that 
I had previously painted and sprayed with inks. 
White gesso and background stamps from Bo Bunny,
text stamps from Kaiser craft.
A good spraying of Biscotti Perfect pearls mist.
The sweet we pin is from Tim Holtz,
I'm not sure where I got that fabby 
YELLOW 
plastic flower, its just shouting out 
I'M YELLOW AND PROUD OF IT! 
Tihi.
The yellow splats of fabric paint from Panduro
I think help to tie it all together.
Last but by no means least is the yellow velvet material.
Its from a collection of fabric testers i seem to have accumulated from Ikea!
(my collection grows each time i'm there, naughty me, I must stop it,
but you never now when they will come to use!) 

All stuck together with mini staples,
panokit glue and glue dots.
Oh and I had some Vintage photo 
distress ink around the edges too :O)

Thats it for today.
I will hopefully be posting about a new tag tommorow already,
so watch this space....

Nina x

Saturday, 25 January 2014

Recycled book Dayplanner/Journal - 2014

Wow, this was a great project to work on
but my goodness it took time to make it!
Waiting and watching paint drying only makes it take 
twice as long to dry i'm sure! 
I did help it along a bit with my trusty heat tool,
but you have to be patient when working with old book pages, 
they are so dry that they suck up a great deal of the paint, and retain moisture
but i wanted the finished pages to be a bit firm so
I chose specially old books with thick pages.
I mean you couldn't have a dayplanner with flimsy pages, 
it just wouldn't do!
I tryed to document the 'birth' of my planner, and for once whilst
 making a project i think I've managed to capture each stage! 
Could it be cos I am super eager to use my 
and my gifted  
to dye for  
ILOVEIT!!

This might be my longest post to date...
SO get your scroller finger ready 
for a workout! 
(want to see an image larger? 
just click on it ;O)


well that was my 2.5 inch thick (!) dayplanner.
I ended up using 3 old books and had to really rack my brains
as to how to hold it all together.
Its so damn thick! 
I had orginally decided to use my bind-it-all machine 
but soon found out that the biggest spirals they 
make for the Bind-it-all where going to be WAY too small.
I considered splitting it up into 2 or 4 parts for the 1 year,
but decided it would be easier to keep control 
over dates etc if it was kept as 1 book.
SO the search began to find binding rings that were large enough.....
....not something I manged to source nearby i hastend to add!
These well traveled 3.5 inch puppies arrived on my doorstep the other day
sent all the way from HONG KONG baby!
(and here was I trying to be green!).

Now i'm looking forward to decorating each and every one of the 365 pages,
I'm hoping my boys will help me too.
(A fun way of keeping track of how much they improve on their
writing and drawing skills throughout the year).

Thats all for now folks,
thanks for stopping by :O)
Nina x

Related Posts Plugin for WordPress, Blogger...